ConnectCode Barcode Add-In for Excel
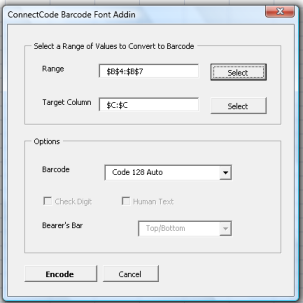
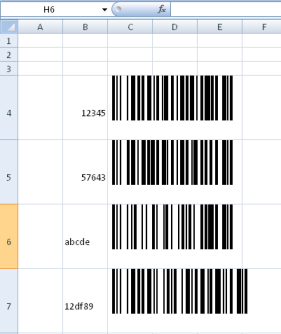
ConnectCode offers an Excel Barcode Add-In that simplifies the creation of barcodes in Excel. This Add-in for Excel comes with an elegantly simple user interface and provides an excellent alternative to the VBA formulas for the bulk generation of barcodes.
Barcode Add-In installation for Excel 2010-2021/Office 365 Excel
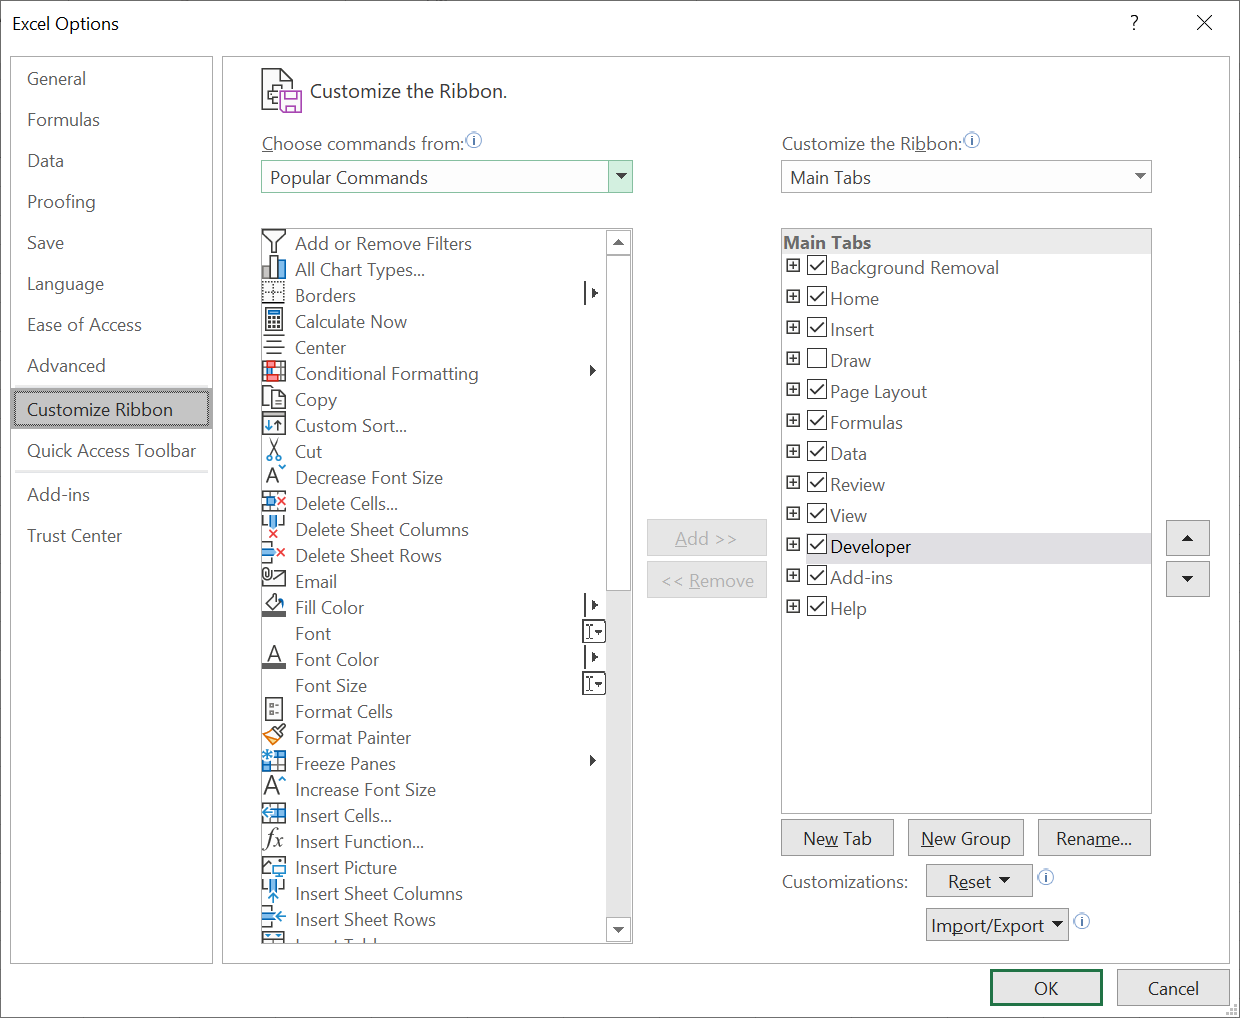
1. Launch Microsoft Excel, and click on "File -> Options -> Customize Ribbon". In "Main tabs", make sure "Developer" and "Add-Ins" tabs are enabled as shown in the screenshot below.
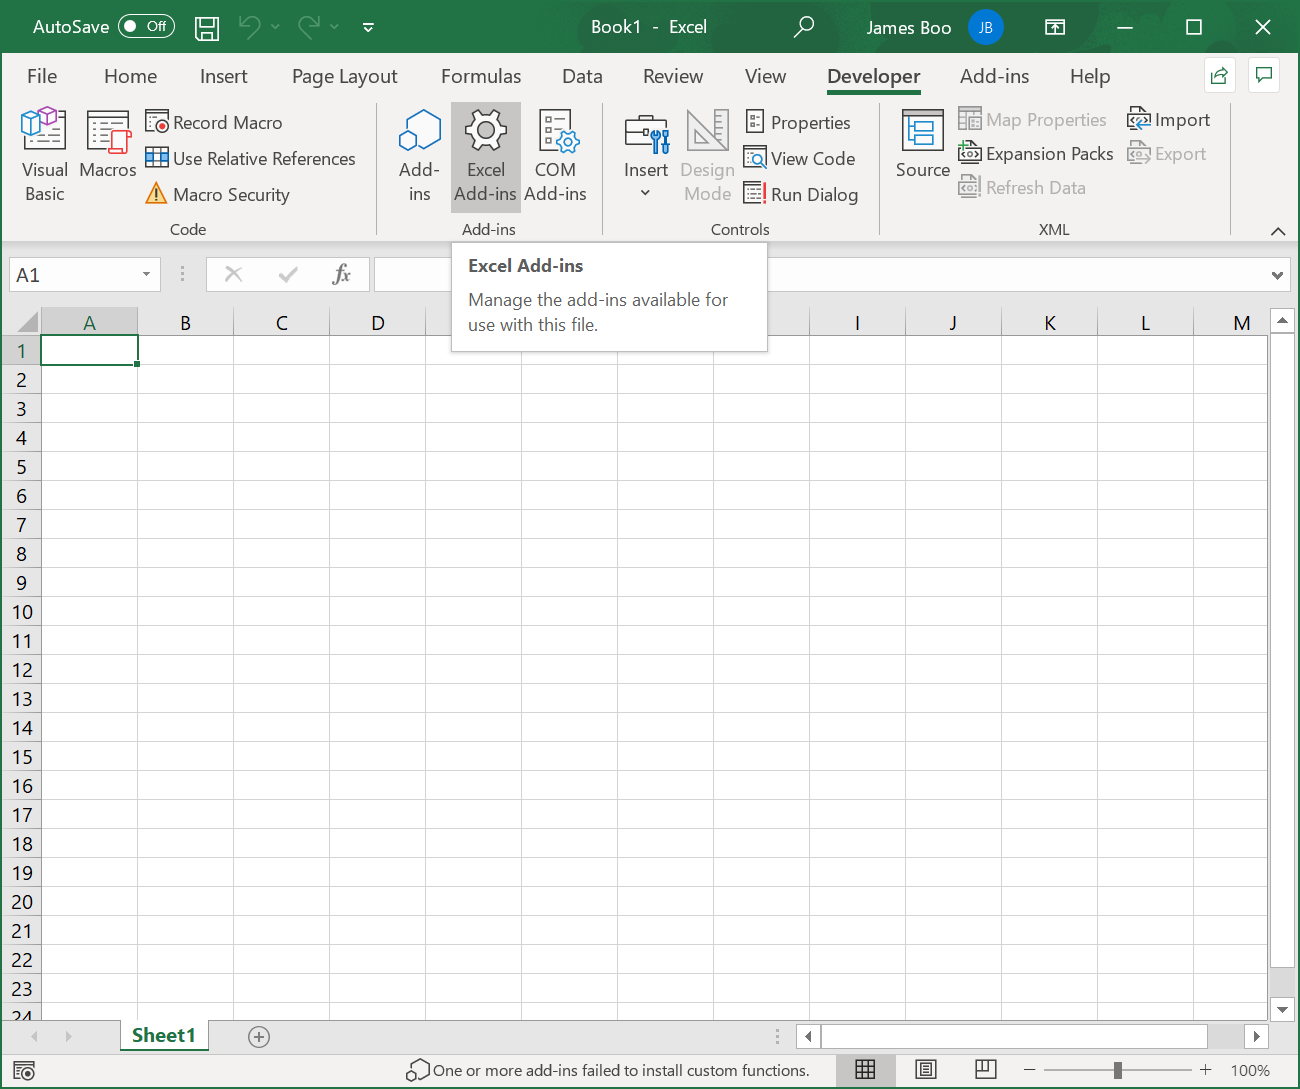
2. Next, select the "Developer" tab in Excel, and click on "Excel Add-Ins".
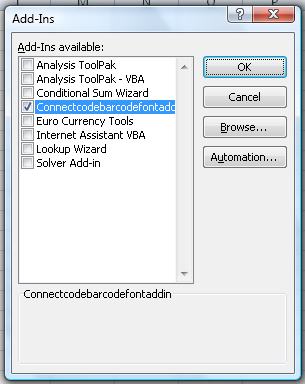
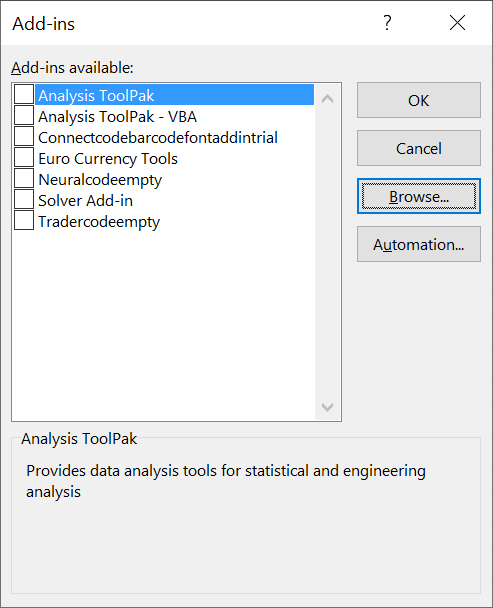
3. This will bring up the "Add-Ins" dialog which will allow you to install ConnectCode Barcode Add-In. Click on the "Browse" button. Select "ConnectCodeBarcodeFontAddin.xla" from "C:/Program Files (x86)/ConnectCode/Resource/" folder (or "ConnectCodeTrial" if you are using the Trial version). Make sure "Connectcodebarcodefontaddin" (or "Connectcodebarcodefontaddintrial") is enabled and click on the "OK" button to install it.
Note - If you are using the msix style installer for Windows 11, "ConnectCodeBarcodeFontAddin.xla" is in the "Resource.zip" file.
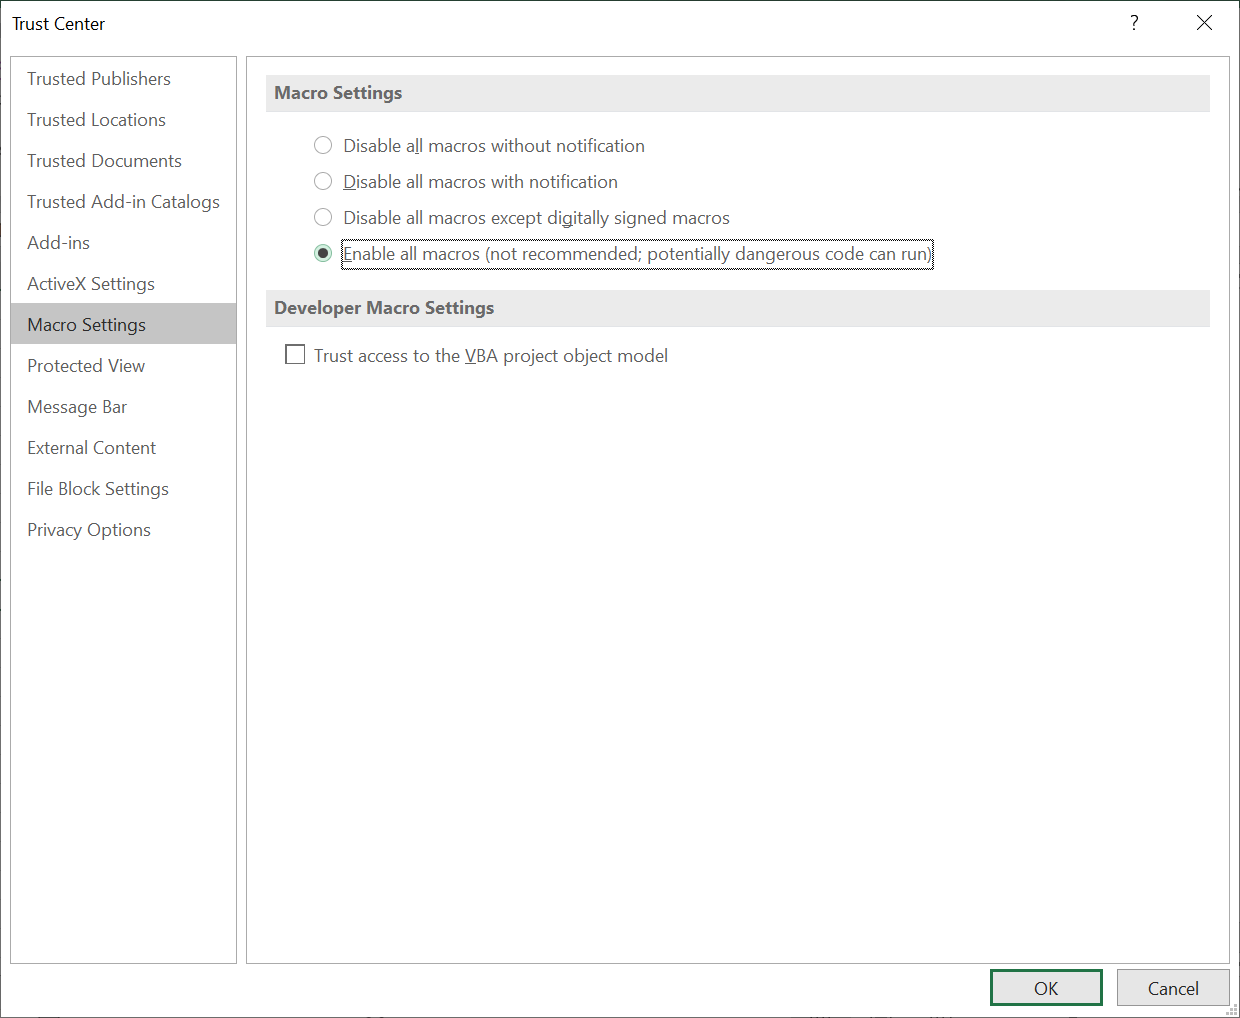
4. In the "Developer" tab, click on "Macro Security", and "Enable all macros" as shown below.
5. Restart Excel to complete the setup.
Using the Barcode Add-In in Excel 2010-2019/Office 365 Excel
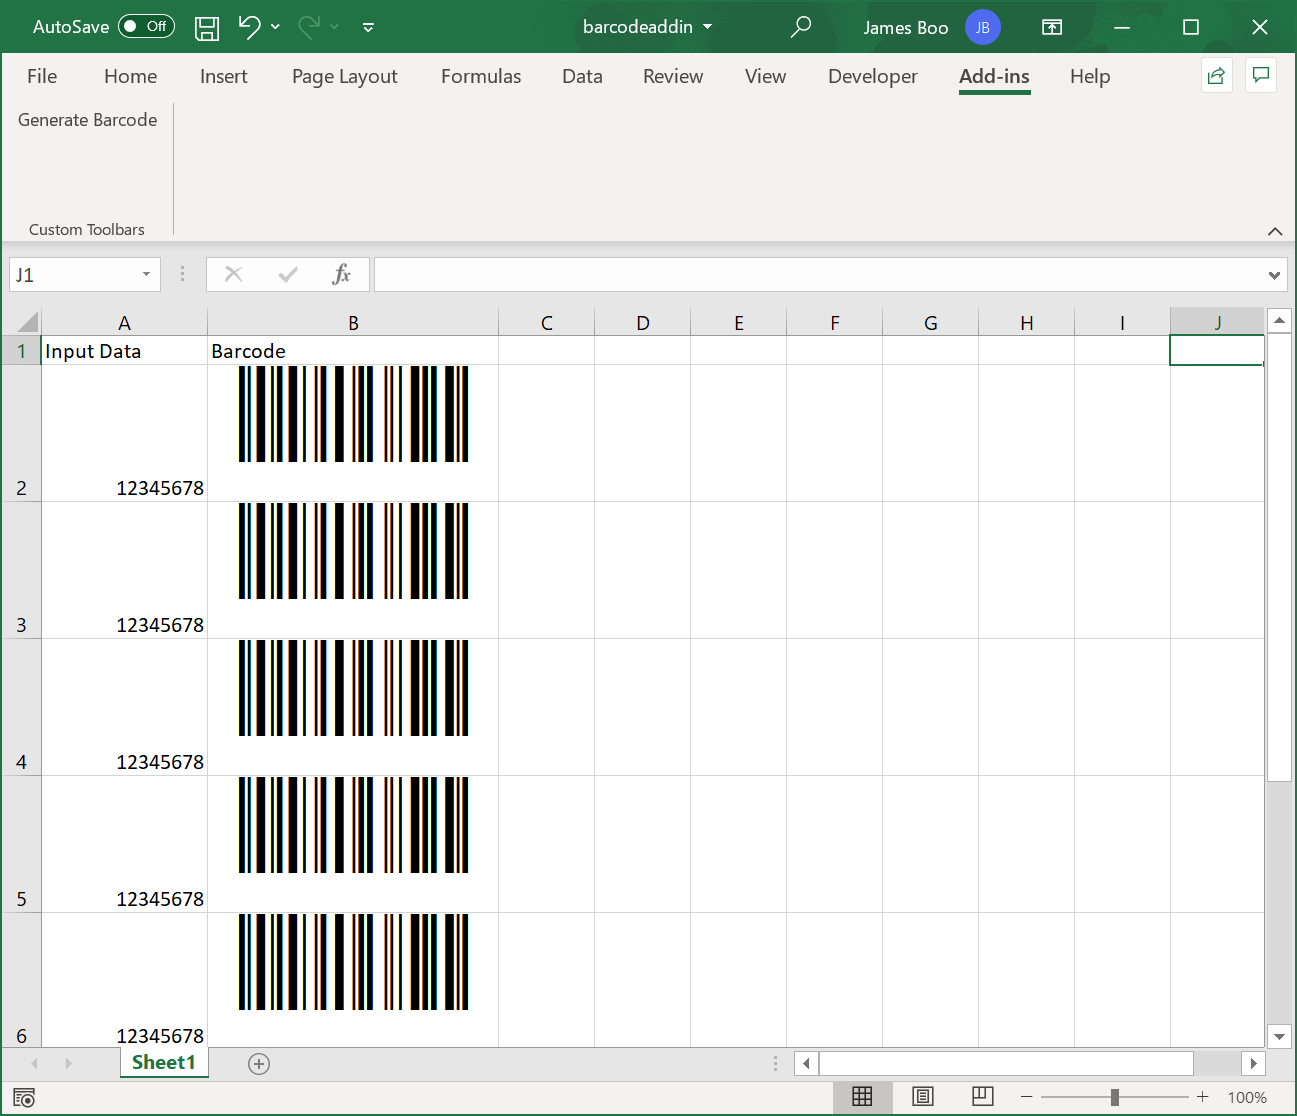
1. Launch Microsoft Excel and create some sample data as shown below. Go to the "Add-ins" tab and click on "Generate Barcode".
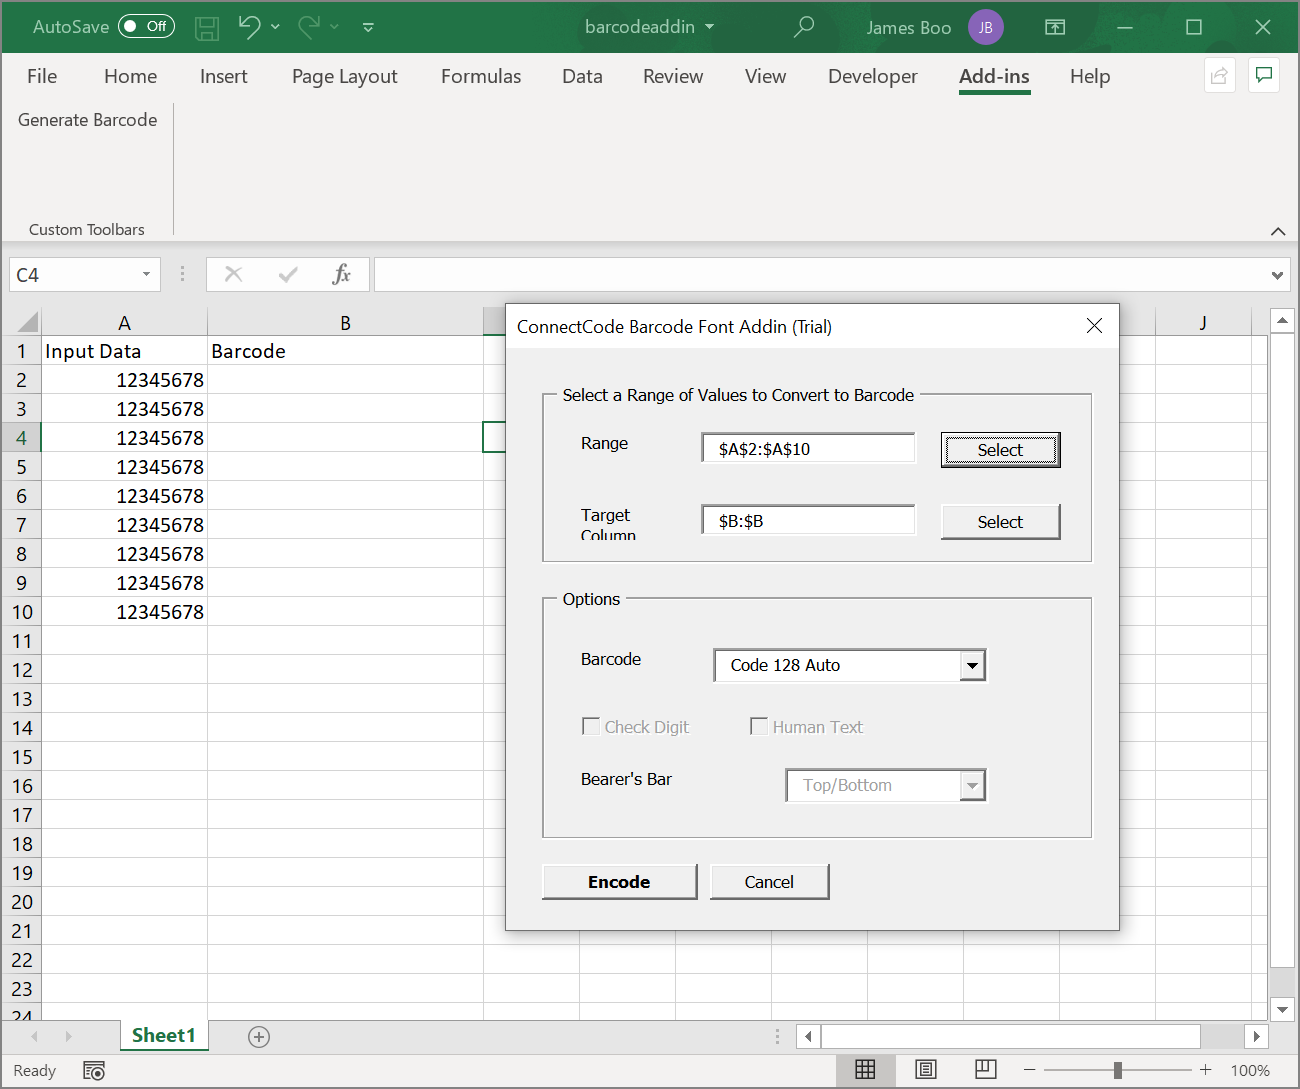
2. Select "A2:A10" as the "Range" and "$B" as the "Target Column". Select the type of barcode to generate and click on the "Encode" button. In the screenshot below, "Code 128 Auto" barcodes are generated using barcode fonts. You can resize the barcode by changing the "Font Size".
