How to create barcodes in Microsoft Word on a Mac?
This tutorial illustrates how to create barcodes in Microsoft Word on a Mac with ConnectCode Barcode Software and Fonts.
Prerequisites- Barcode Software and Fonts for Mac
- Microsoft Word is Installed
1. First, set up the barcode fonts on your Mac so that they can be used to create barcodes in Microsoft Word.
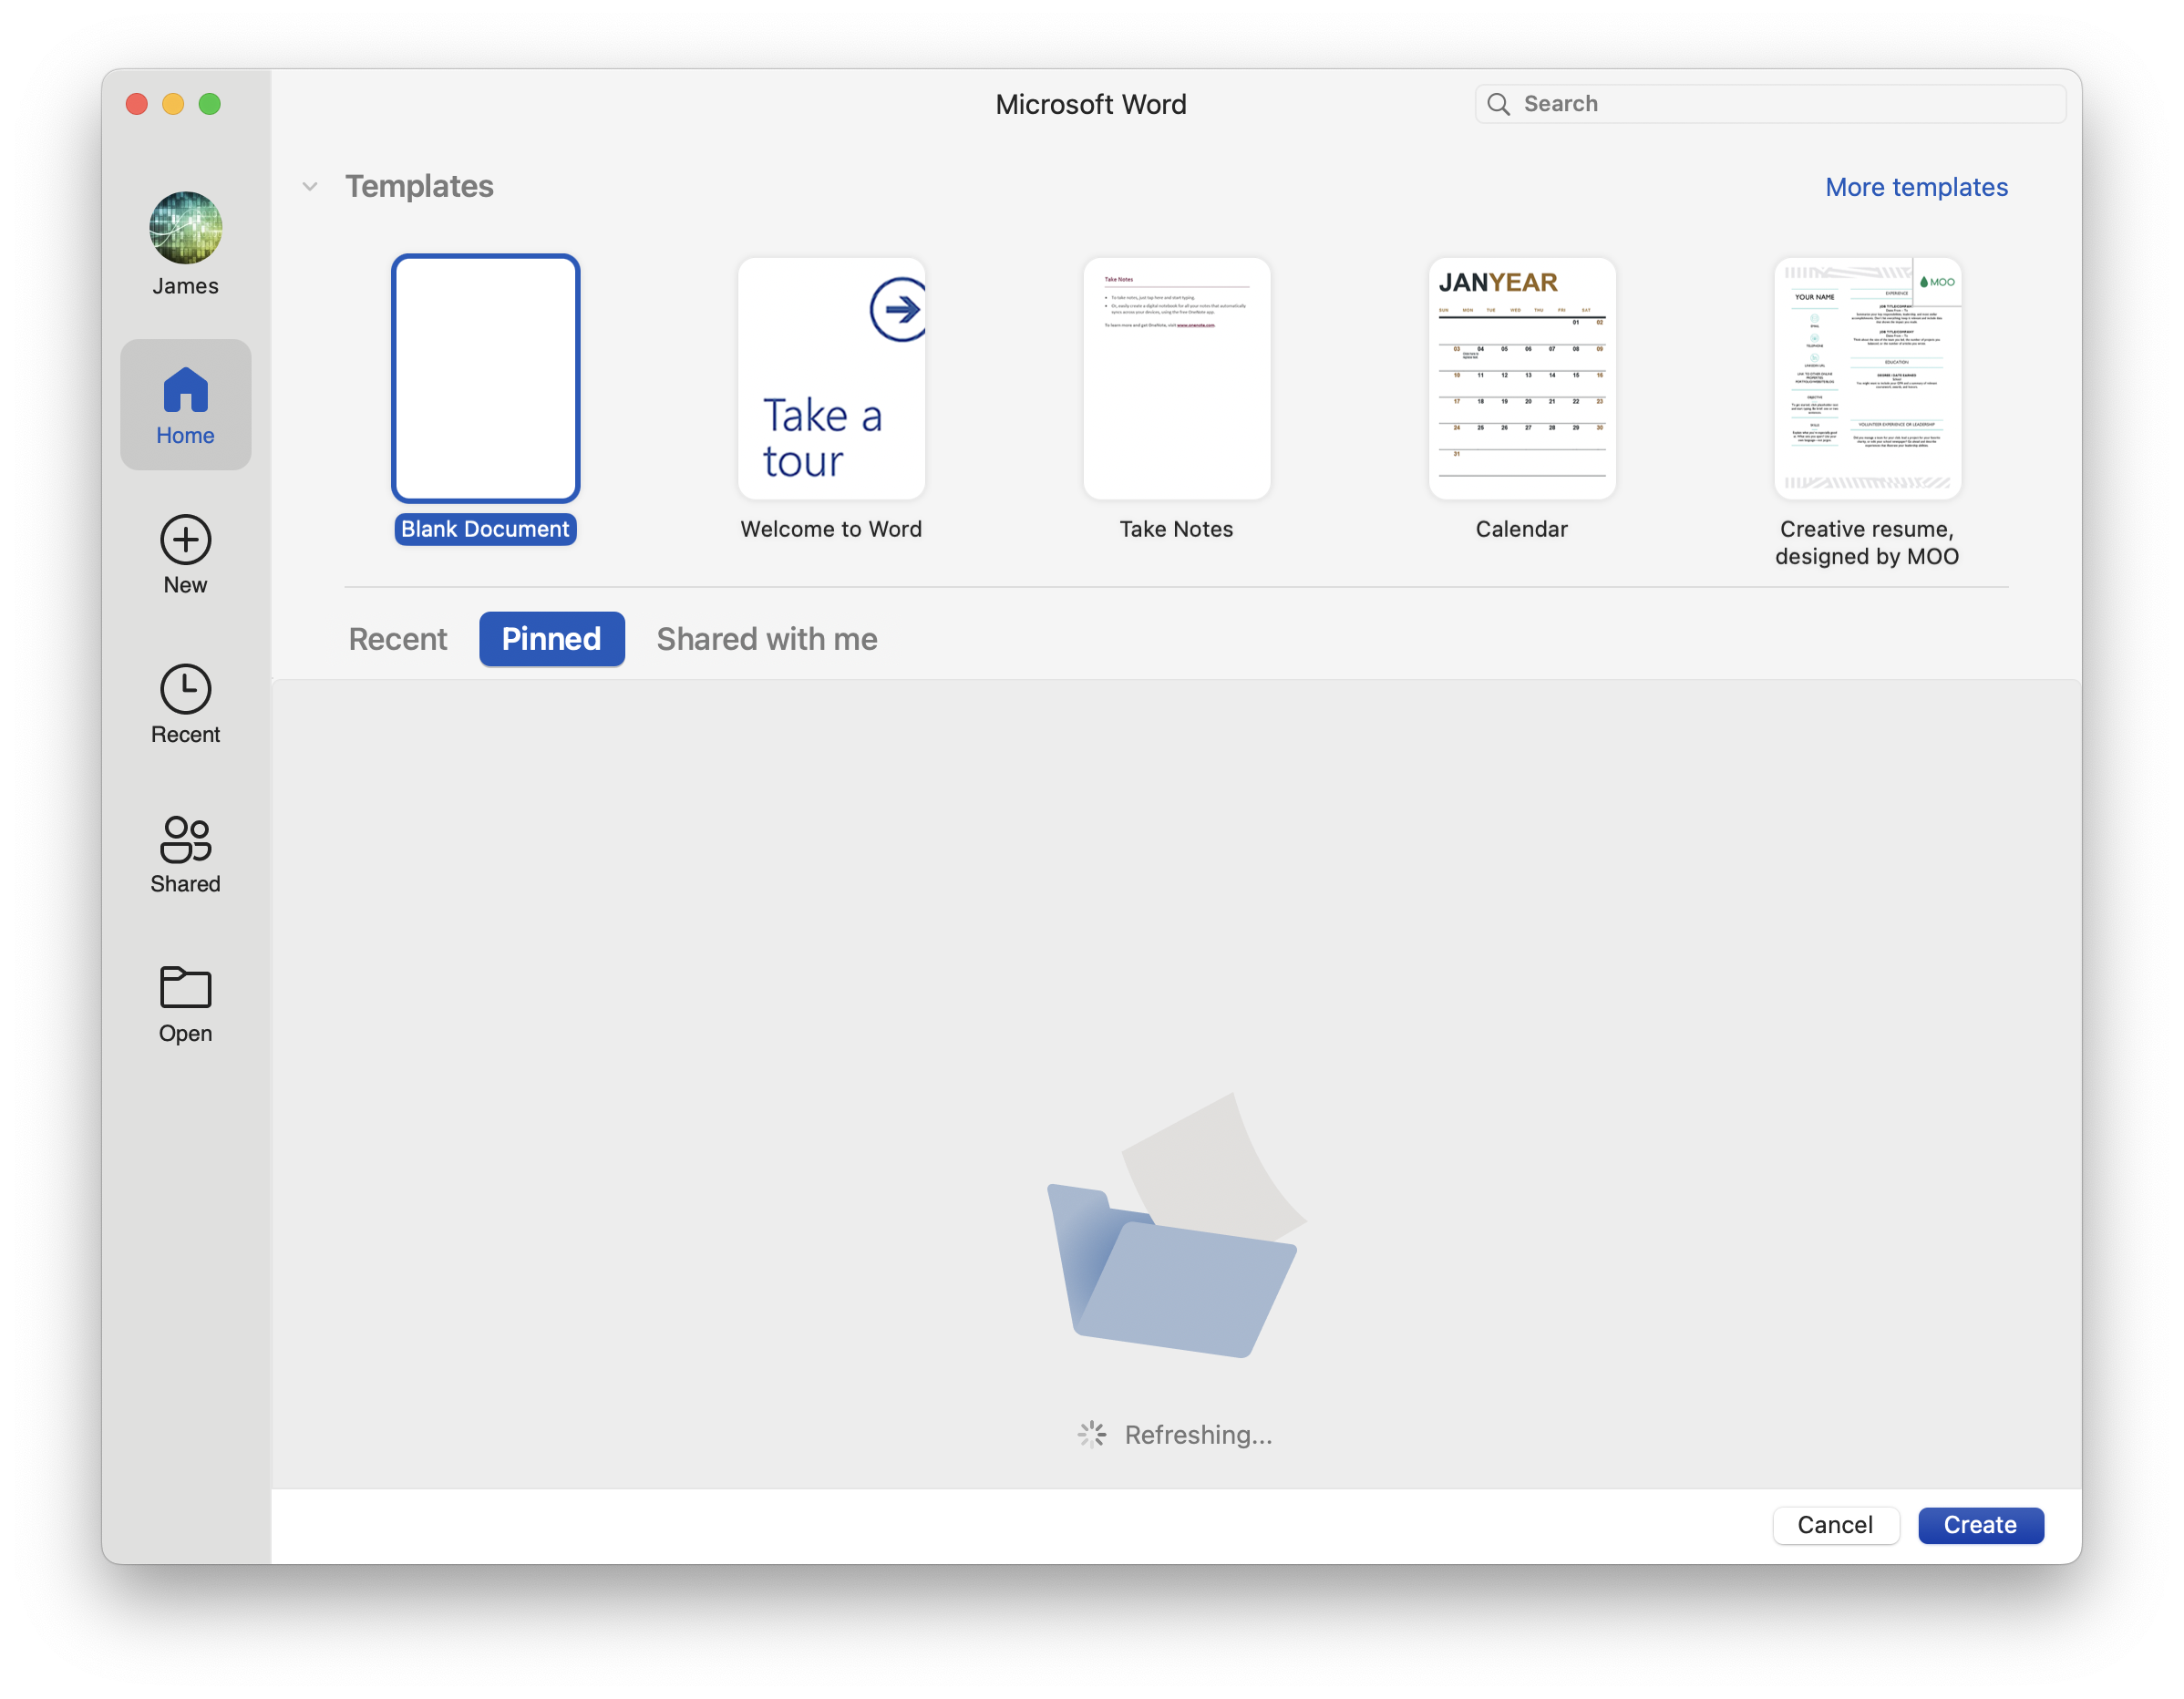
2. Launch Microsoft Word from Mac Launchpad. Click on "Blank Document" to create a new Word document.

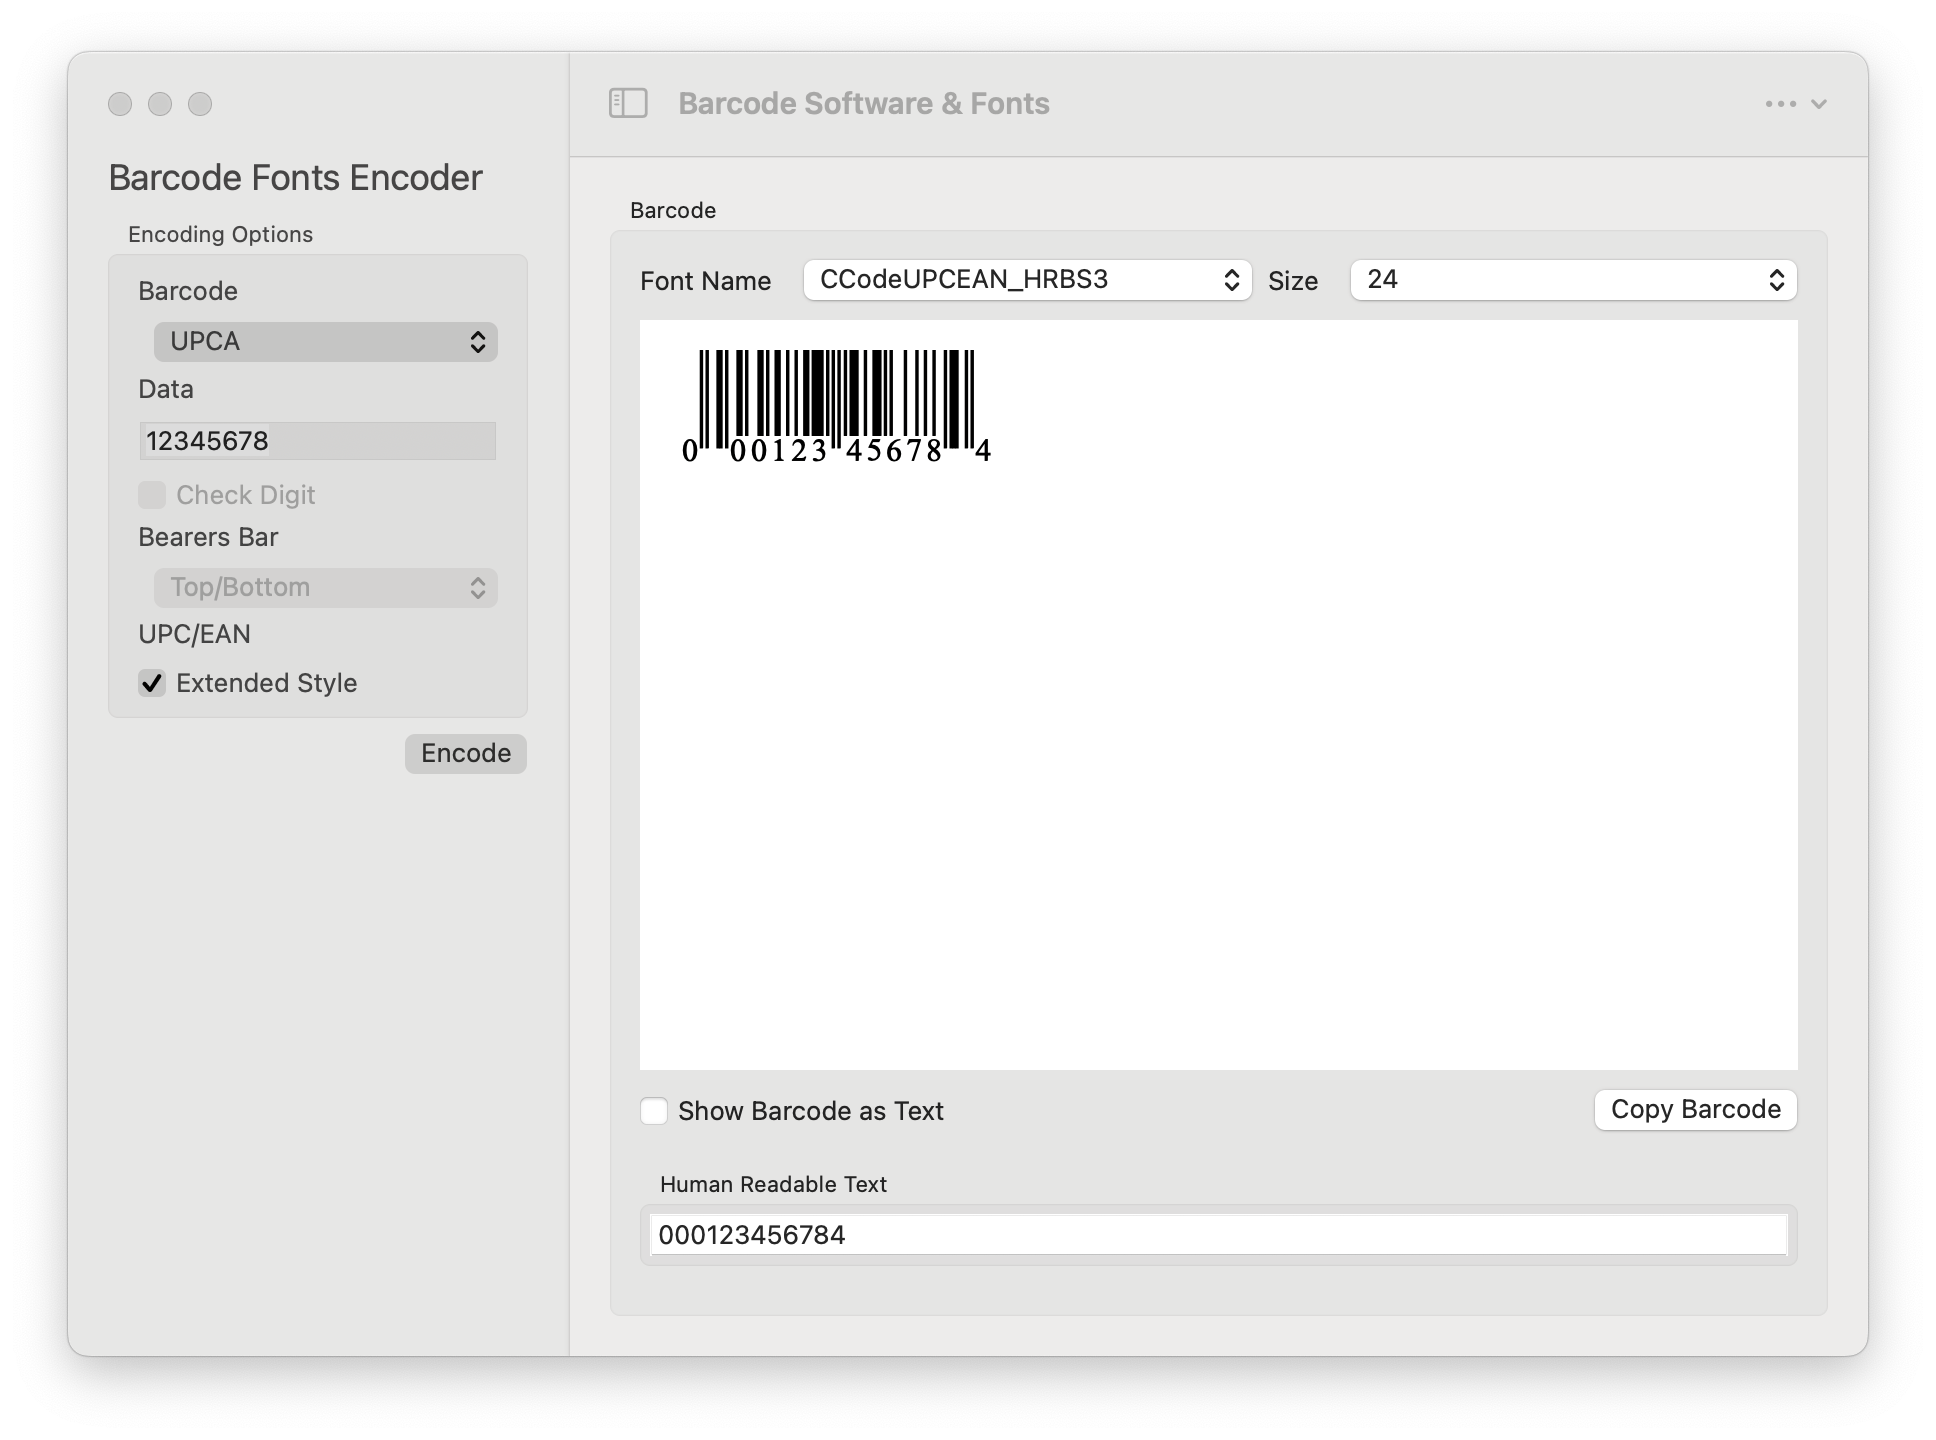
3. Launch "ConnectCode Barcode Software" from Mac Launchpad. In "Encoding Options", select a "UPCA" barcode with "Extended Style", and click on the "Encode" button. A UPCA (Universal Product Code A) barcode is created using ConnectCode's Barcode Fonts. You can also create other types of barcodes such as a Code 128 barcode in a similar way.

Click on the "Copy Barcode" button to copy the UPCA barcode generated using fonts. We are going to paste this barcode with full text formatting to a Microsoft Word document.
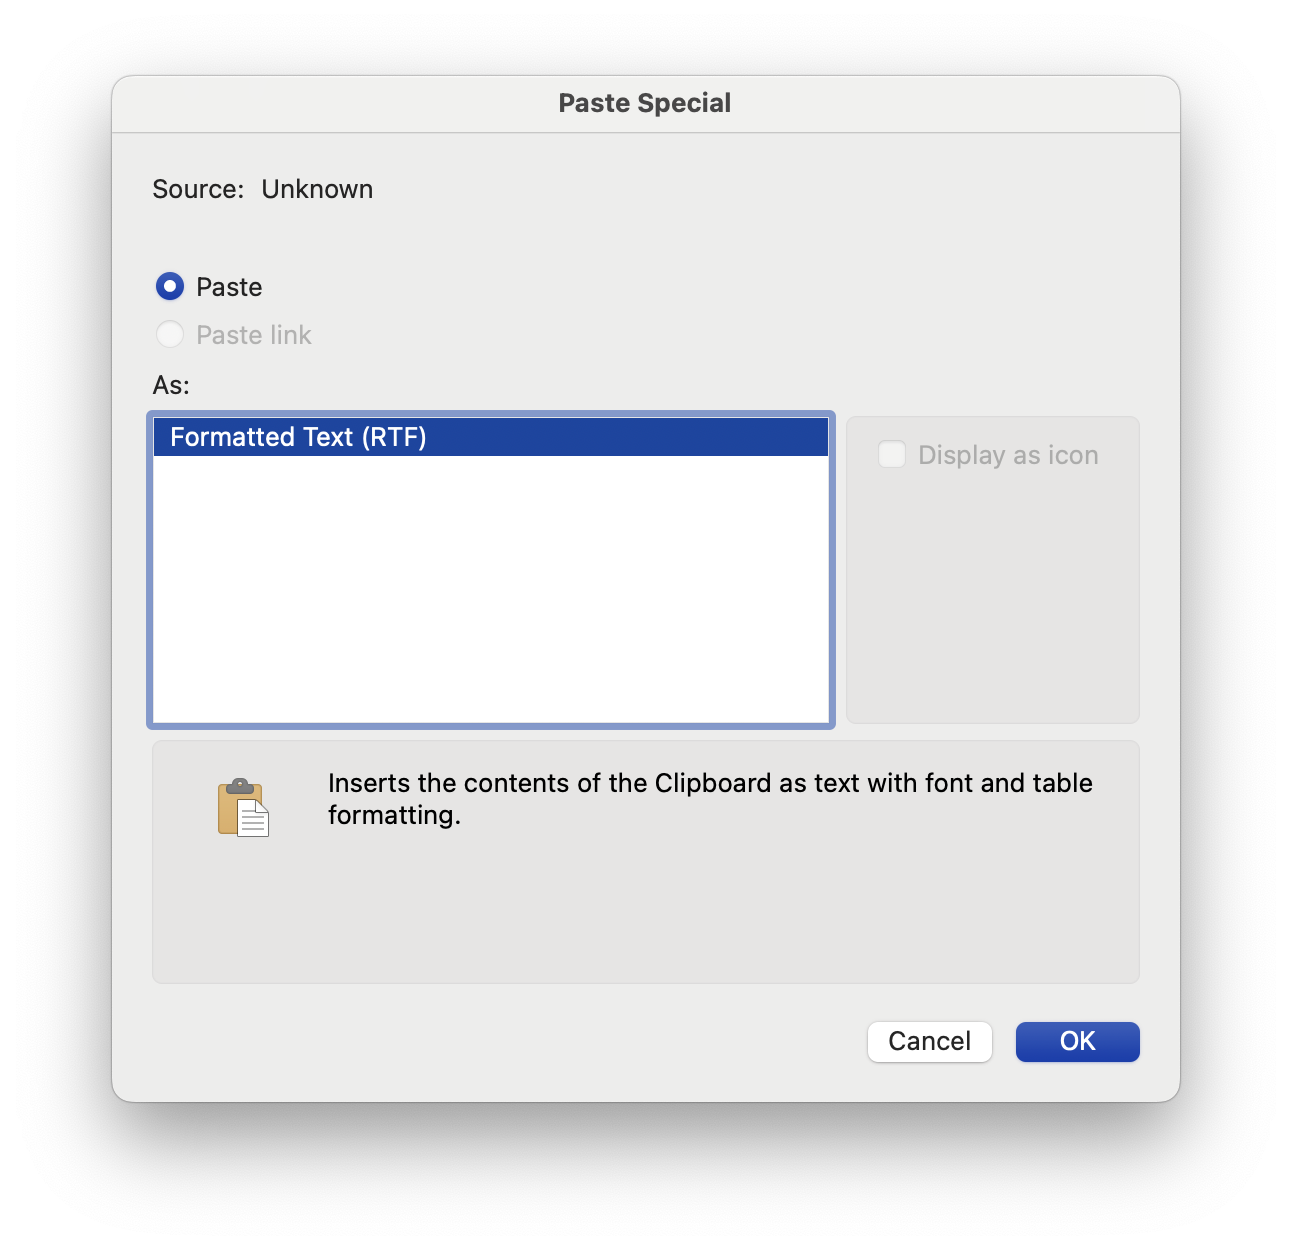
4. In Microsoft Word, click on the "Edit" menu and select the "Paste Special" option. In the dialog box that follows, click on "OK" to paste the copied barcode as "Formatted Text (RTF)"

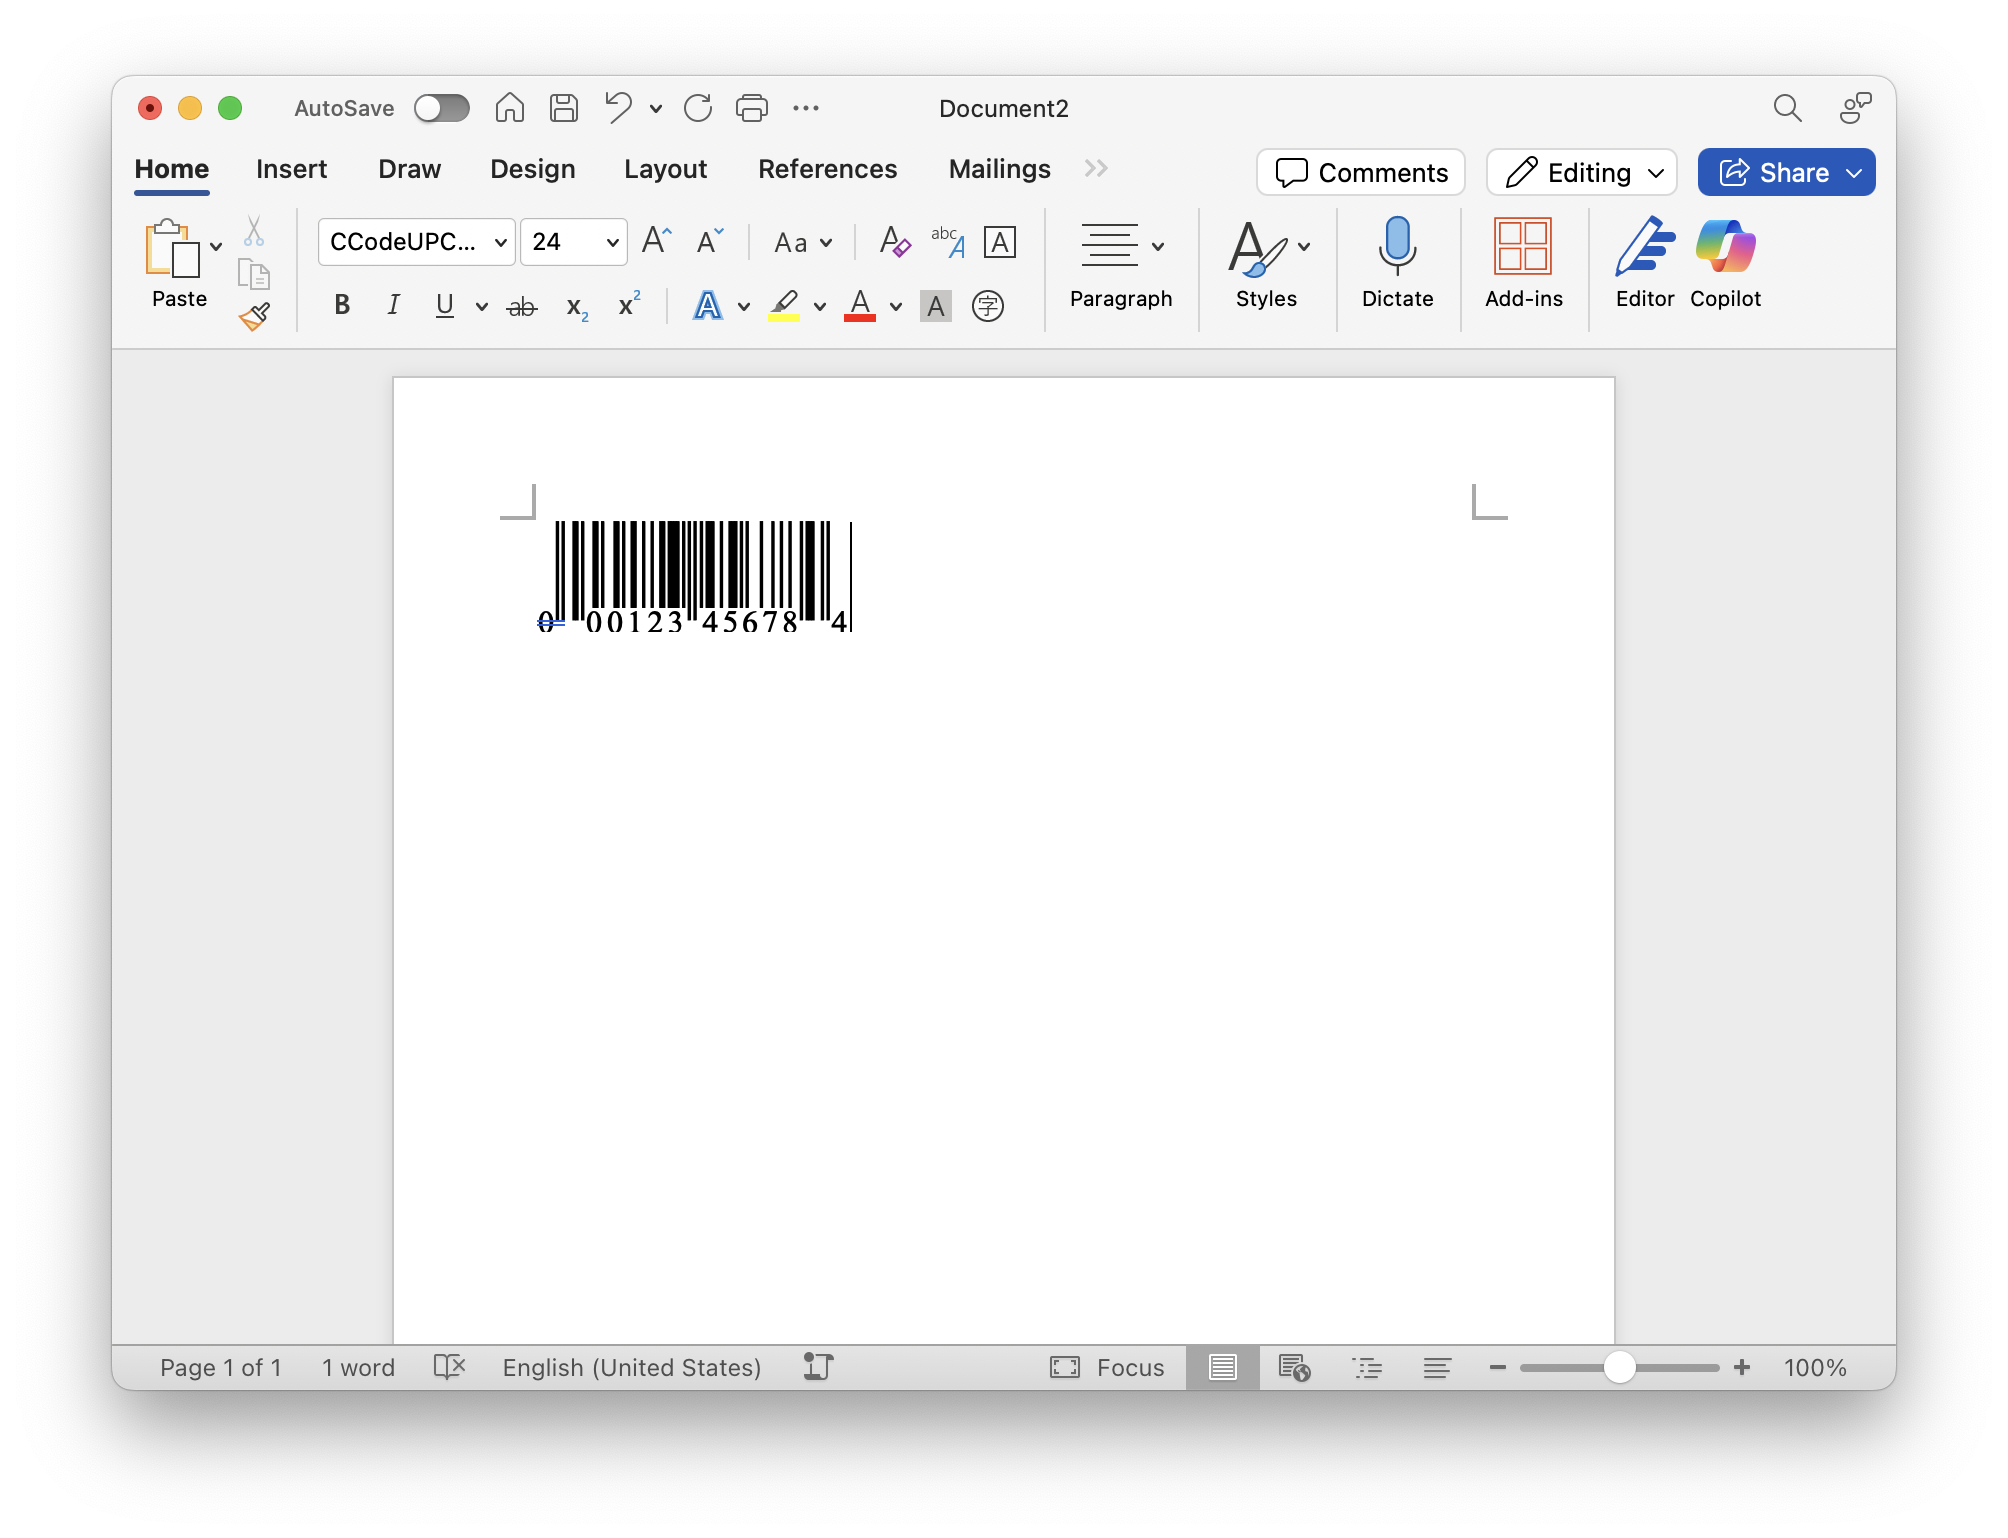
5. You have successfully created an ISO/GS1 compliant Extended Style UPCA barcode as shown in the screenshot below.

The '...S3' in the font name refers to a barcode font of a specific height. '...S1' refers to a font with the shortest barcode character height, and '...S7' refers to a font with the tallest character height. A font size of "24 pt" is what we recommend when you first create a barcode. You can always increase or decrease the font size to make the barcode bigger or smaller. The series of fonts with different heights, together with the Font Size setting will enable you to size the barcode to meet all the ISO/GS1 audit and test requirements.
Back to Mac Barcode Software page.
