Develop a WYSIWYG drawing app with SwiftUI
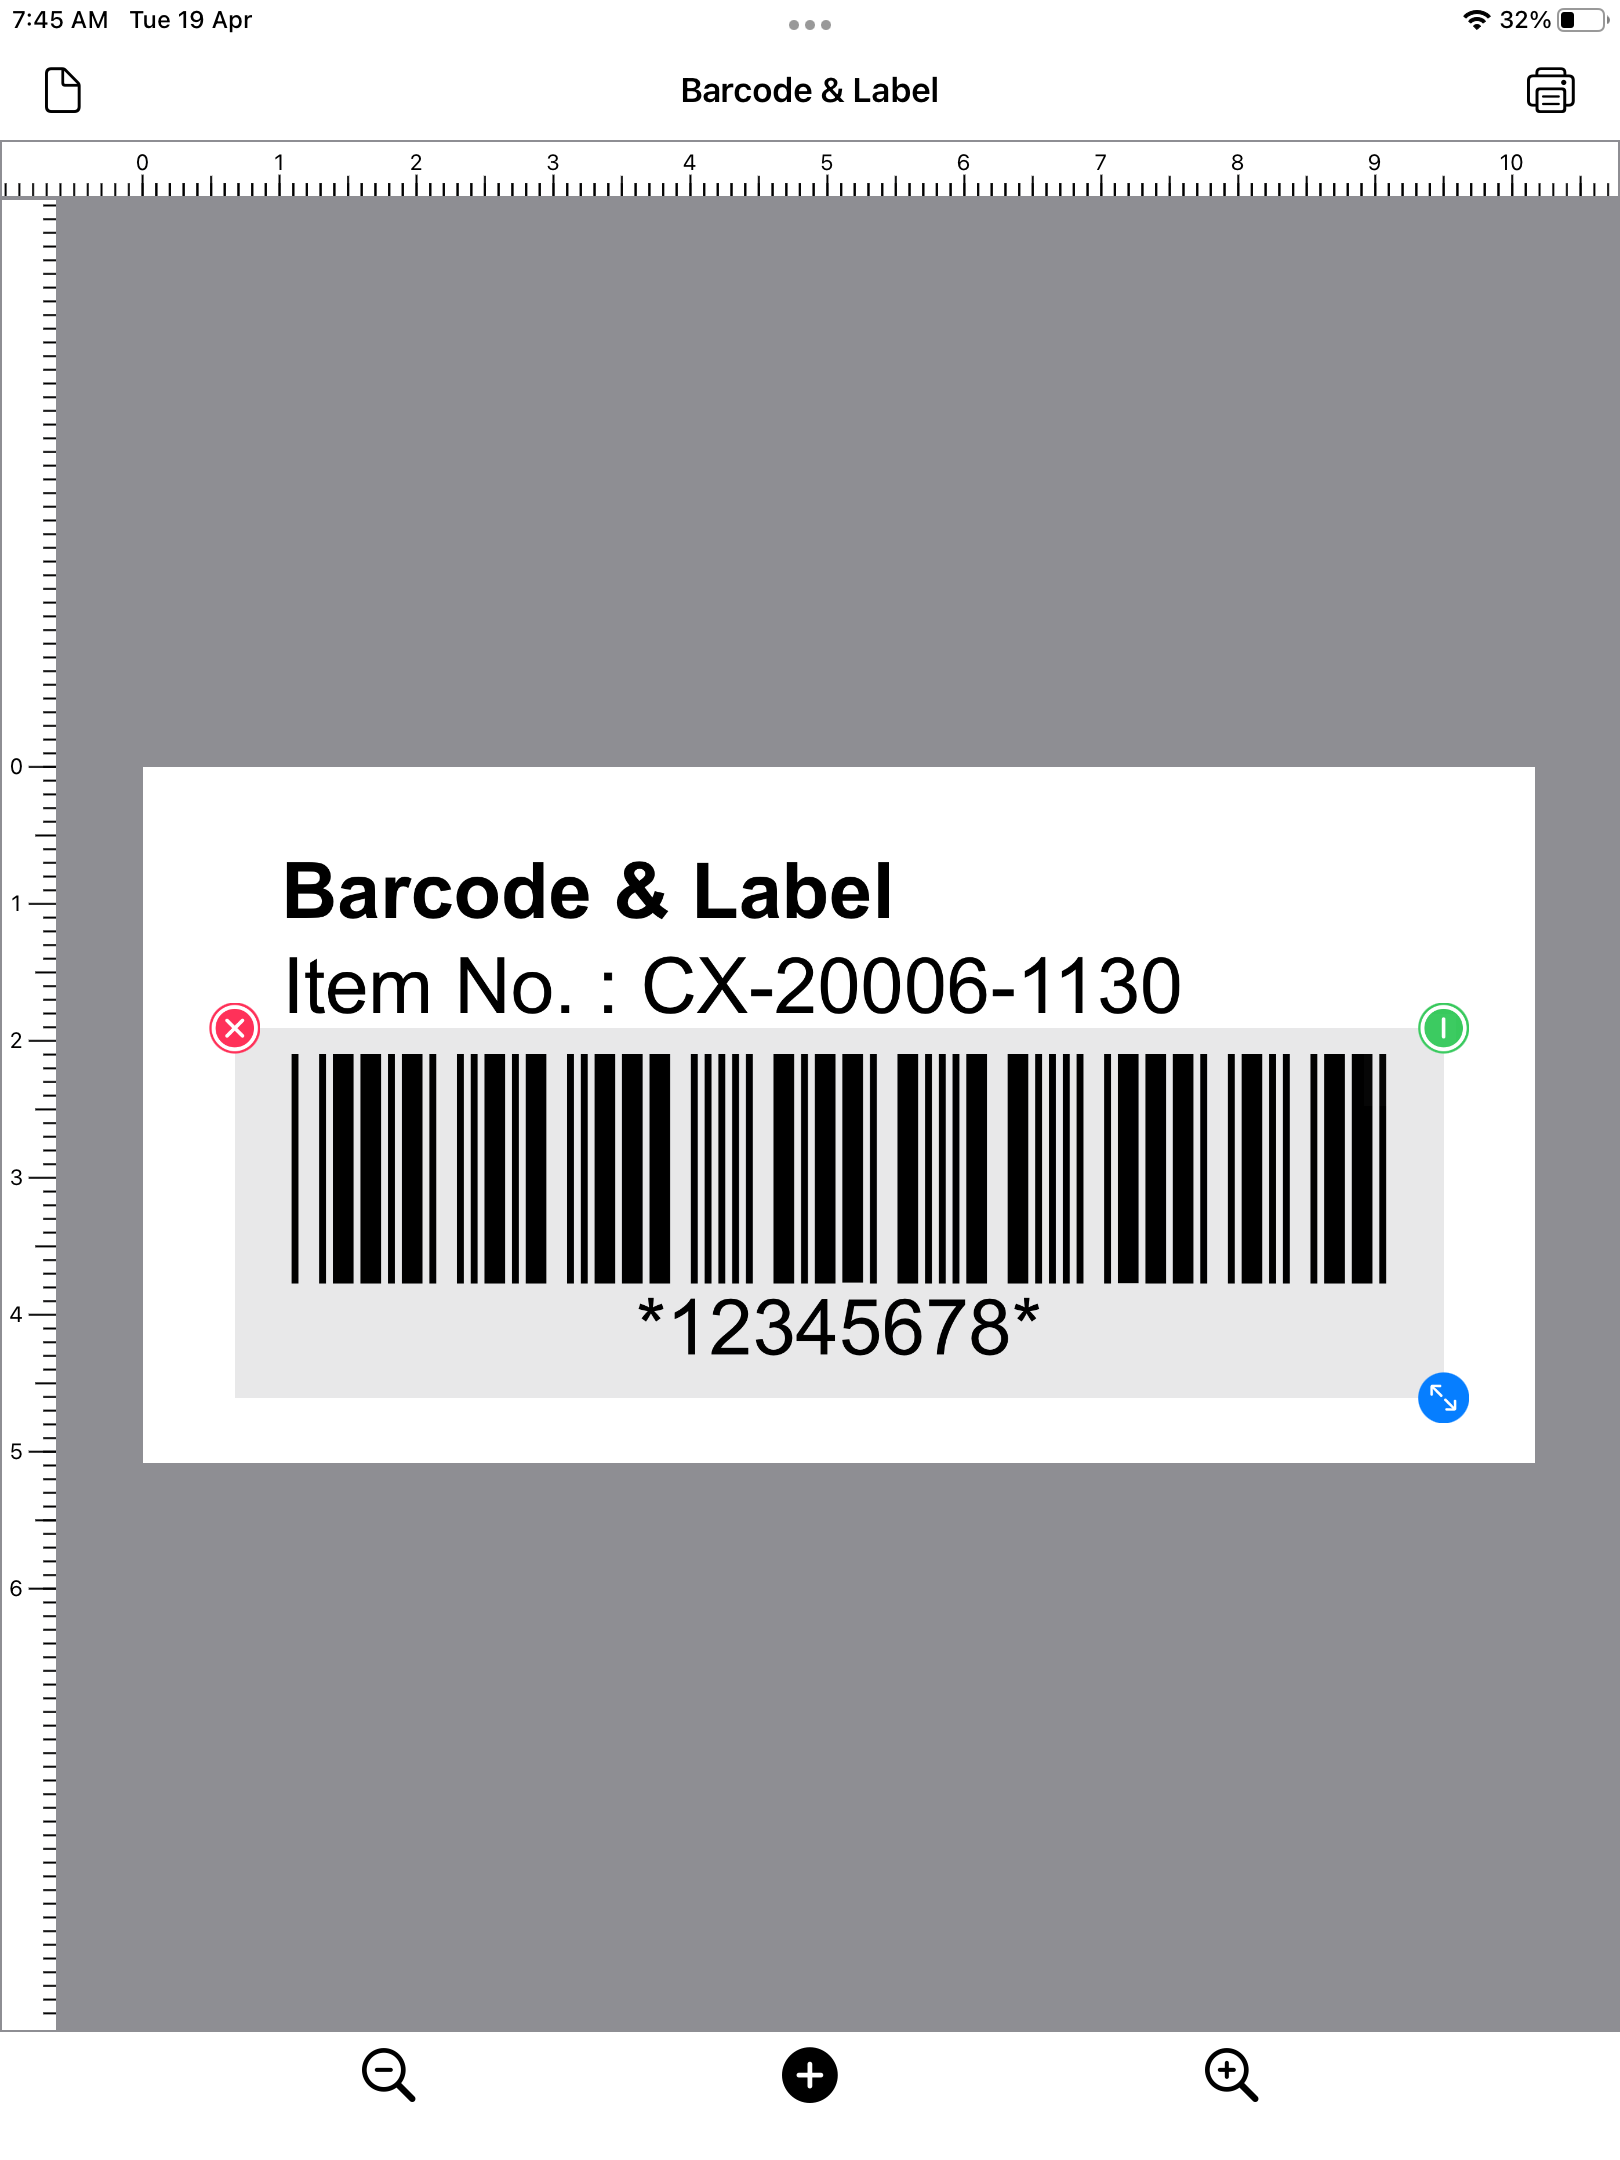
This article explores the use of SwiftUI for developing a What-You-See-Is-What-You-Get (WYSIWYG) vector drawing app. A WYSIWYG vector drawing app can be thought of as one that renders different objects such as a rectangle, an ellipse, a text, or other shapes on a canvas; the moving of objects around a canvas by dragging; and changing object properties by tapping on objects. This is illustrated in the screenshot of an iOS app below. Specifically, this article explores the use of a SwiftUI View as the "Drawing Canvas" instead of using a Core Graphics Canvas or a SwiftUI Canvas.
Why use SwiftUI View as the drawing canvas?
When developing a vector drawing app in the Apple ecosystem, things that come immediately onto the mind are Core Graphics or SwiftUI Canvas. Both are extremely fast, easy to use, and provide a canvas for us to draw on. Naturally, both are good choices as the canvas of a drawing app. However, when the drawing app requires WYSIWYG behavior, a Swift developer realizes that handling of object interactions such as drag, move, and resize, requires the use of Apple's Gestures and Events.
This makes it hard for a Swift developer to ignore the use of a SwiftUI View as the "Drawing Canvas". This is because all Apple's Gestures and Events are directly supported by a SwiftUI View. If one is to take a step back and think about it, a SwiftUI View is designed by Apple for User Interface (UI) development, and such a View already naturally supports all the behavior required by a WYSIWYG app: rendering views and objects, and supporting gestures and events. The use of a SwiftUI View as the "Drawing Canvas" also does not prevent us from using Core Graphics, SwiftUI Canvas, or even Metal for rendering the underlying object that requires special treatment, as all three can be represented as a SwiftUI View easily.
The outcome of the Exploration
Open Source
- SwiftUI-WYSIWYG-Draw - GitHub (MIT License)
App
- Barcode & Label - a label design (WYSIWYG), mailing address, envelope, and barcode printing app available on Apple App Store
The following section highlights the advantages, disadvantages, and challenges of using SwiftUI, with a SwiftUI View as the "Drawing Canvas", for developing a WYSIWYG app. This is probably not a suitable design for everyone, but some points highlighted may be useful consideration to a WYSIWYG drawing app developer.
The Design
As mentioned above, we will be using a SwiftUI View as the "Drawing Canvas" to draw shapes, text, or images. But how do we go about doing this? The following is as simple as it gets.
         var body: some View {
            ZStack {
                ForEach(shapes.shapeList){
                    shape in
                    ShapeViewX()
                    }
            }
        }
The fundamental concept is to just draw a list of shapes (represented as SwiftUI View) on a ZStack inside a SwiftUI View. The list of shapes and shape classes are defined below:
         class ShapesX{

            @Published var shapeList = [ShapeX]()

        }

        class ShapeX {

            @Published var location: CGPoint = CGPoint(x: 50, y: 50)
            @Published var size: CGSize = CGSize(width: 100, height: 100)
            @Published var canvasSize: CGSize = CGSize(width: 500, height: 500)

        }
Note - The code above is simplified to help convey the concepts more easily. For example, the "ObservableObject" attributes are removed.
ShapesX and ShapeX can be considered as the model objects of our vector drawings. We render them in a SwiftUI View by using a SwiftUI View to represent each shape. ShapeViewX below is used for this purpose. It is interesting to note that ShapeViewX can also be implemented with a SwiftUI Canvas, a Core Image Canvas, or with Metal. For our scenario, we will use SwiftUI shapes such as Rectangle, Ellipse, or wrap a SwiftUI View around a SwiftUI Text for representing objects on the canvas.
         struct ShapeViewX: View {

            @ObservedObject var shape: ShapeX

            //Handle the interactions such as Move and Resize
            //Draw a Bounding Box

            //Draw the Shape
            var body: some View {
              self.shape.view()
              //depending of the type shape is, we can draw a rectangle or ellipse etc.
            }
        }
ShapeViewX is used to render different types of shapes such as a rectangle or an ellipse. The view function for drawing a Rectangle is illustrated below.
         class RectangleX: ShapeX {

            @Published var strokeWidth:Double = 1
            @Published var strokeColor = Color.black
            @Published var fillColor = Color.white

            override func view() -> AnyView {
                AnyView(
                    Rectangle()
                        .stroke(strokeColor, lineWidth: strokeWidth)
                        .background(Rectangle().fill(fillColor))
                        .frame(width: self.size.width, height: self.size.height)
                        .position(self.location)
                        )

                }
        }
Besides drawing shapes, ShapeViewX can be used to easily manage all gestures and events in a single place. This is illustrated below.
Gestures
The Pan (drag to move) gesture for ShapeViewX can be as simple as follow:
         struct ShapeViewX: View {

            @ObservedObject var shape: ShapeX
            @State private var location: CGPoint = CGPoint(x: 50, y: 50)

            var drag: some Gesture {
              DragGesture()
                 .onChanged { value in
                     self.shape.location = value.location
                 }
            }

            var body: some View {
                ZStack
            	{
               	       self.shape.view()

	               Rectangle()
        	        .fill(Color.white)
                	.opacity(0.001)
                	.frame(width: self.shape.size.width, height: self.shape.size.height)
                	.position(self.shape.location)
                	.gesture(
                    		drag
	                )
	       }
            }
        }
If you test the code above, you will see a little jump when we start dragging the rectangle. The following article explains this problem well and provides a solution to this.
https://sarunw.com/posts/move-view-around-with-drag-gesture-in-swiftui
The Printing Problem
The use of a SwiftUI View as a WYSIWYG is great for handling events and gestures. But for many vector drawing apps, the need to export, print, and/or generate a PDF output are also important. If we need to generate a PDF, we can implement something like the following:
A Manual Solution
         let pageRect = CGRect(x:0, y:0, width: 8.5*72, height: 11.0*72)

         let renderer = UIGraphicsPDFRenderer(bounds:pageRect , format: format)

         let pdf = renderer.pdfData { (context) in
            context.beginPage()
            let attributes = [
              NSFontAttributeName : UIFont.boldSystemFont(ofSize: 150)
            ]
            let text = "Hello!" as NSString
            text.draw(in: CGRect(x: 0, y: 0, width: 500, height: 200), withAttributes: attributes)
          }
In the above, we draw a text ("Hello") in the PDF. We can imagine that we need to translate each of our shapes and text into PDF with codes similar to the above. This is useful if a fine-grain control of every single rendering detail is required. It can, however, be tedious.
Convert a SwiftUI View to PDF
Alternatively, we can convert a SwiftUI View to PDF. This is a quick and easy way if we do not want to manually translate each shape into PDF.
See the following for more information:
The code below illustrates how to convert a SwiftUI View and its children's objects to PDF by using UIGraphicsPDFRenderer.
         func exportToPDF() {

            let documentDirectory = FileManager.default.urls(for: .documentDirectory, in: .userDomainMask).first!
            let outputFileURL = documentDirectory.appendingPathComponent("SwiftUI.pdf")

            let width: CGFloat = 8.5 * 72.0
            let height: CGFloat = 11.0 * 72.0
            let printout = SwiftUICanvasView()

            let pdfVC = UIHostingController(rootView: printout)
            pdfVC.view.frame = CGRect(x: 0, y: 0, width: width, height: height)

            //Render the view behind all other views
            let rootVC = UIApplication.shared.windows.first?.rootViewController
            rootVC?.addChild(pdfVC)
            rootVC?.view.insertSubview(pdfVC.view, at: 0)

            //Render the PDF
            let pdfRenderer = UIGraphicsPDFRenderer(bounds: CGRect(x: 0, y: 0, width: 8.5 * 72.0, height: height))

            do {
                try pdfRenderer.writePDF(to: outputFileURL, withActions: { (context) in
                    context.beginPage()
                    pdfVC.view.layer.render(in: context.cgContext)
                })

                self.exportURL = outputFileURL
                self.showExportSheet = true

            }catch {
                self.showError = true
                print("Could not create PDF file: \(error)")
            }

            pdfVC.removeFromParent()
            pdfVC.view.removeFromSuperview()
        }
The Problem with converting a SwiftUI View to PDF
If you look at the conversation thread more closely, you will notice the following:
   "When I tried to generate a PDF file using the the solutions in other answers I only got a blurred PDF and the quality was far from good."

   pawello2222
When a SwiftUI View is converted into a PDF, it is converted at 72 Dots-Per-Inch (DPI). If your drawing contains high-resolution objects such as images, they will become blurry in the PDF. A low-resolution output for a WYSIWYG graphics app is not ideal. If we cannot accept a lower resolution output, does it mean we are back to the manual method of converting our SwiftUI View to a PDF?
   "I ended up generating the SwiftUI view in a much bigger frame and scaled down the context to the appropriate size."

   pawello2222
The Possible Solution
One solution could be to render the "Canvas" (SwiftUI View) at a required DPI (e.g. 300 DPI) and then scale it down with "scaleEffect" for viewing on the app. For example, we can render an 8.5 x 11.0 (inches) canvas at 300 DPI. To view it on the app, we can scale it down by a factor of 72.0/300.0 (72 DPI is the DPI used by an iOS app) as shown below.
            SwiftUICanvasView() //at 300 DPI
            .frame(width: 8.5*300, height: 11.0*300, alignment: .center)
            .scaleEffect(72.0/300.0)
When rendering SwiftUICanvasView, at 300 DPI, to a PDF, our PDF and its objects will no longer be blurry.
The Additional Complexity
The design of rendering a canvas at a higher DPI and then scaling it down for viewing will undoubtedly increase the app's resource requirements. There will also be additional code development complexity. For example, a text that used to be rendered at a font size of 16 (in 72 DPI), when rendered on a 300 DPI canvas, will require a font size of 16 * 300.0/72.0. This translation of font size will need to be managed. The code below shows how to:
class TextX: ShapeX {

    //@Published var fontSize:CGFloat = 16.0
    @Published var fontSize:CGFloat = 16.0*300.0/72.0

}
What have we done?
In summary, we detailed the use of a SwiftUI View as a drawing canvas for rendering shapes and text and handling of gestures and events. We drew the SwiftUI View in 300 DPI and used "scaleEffect" to scale it down for viewing on the app. We then used the SwiftUI View (at 300 DPI) and converted it to a 72 PDF. We also highlighted the additional complexity of doing so.
Is the above design good for everyone developing a WYSIWYG app? Definitely not! But I hope, at least some parts are useful for anyone considering the development of a WYSIWYG app with SwiftUI. For us, we have used it to develop a label design WYSIWYG and barcode printing app.